Alrighty, so this project is a small subset of a larger project in which my father and I are building matching M16A1’s. My fathers is based off of an original parts kit purchased from https://whatacountry.com/colt-m16a1-parts-kit-no-furn.aspx and mine is a build from retro parts sourced from aftermarket vendors.
Anyway, I wanted a “partial fence” lower rather than a “full fence” lower. For an in depth write up on the differences between the two check out this link https://www.ar15.com/forums/AR-15/AR15-M16A1-Lower-Receiver-Model-Guide-Clone-Building-Guide-FAQ-redux/123-294264/?page=1. I had some “A2” profile 80% lowers and I decided to machine the fence off and make a “partial fence” lower for the M16A1 rather than use the A2 style, even though most people wouldn't be able to tell the difference.
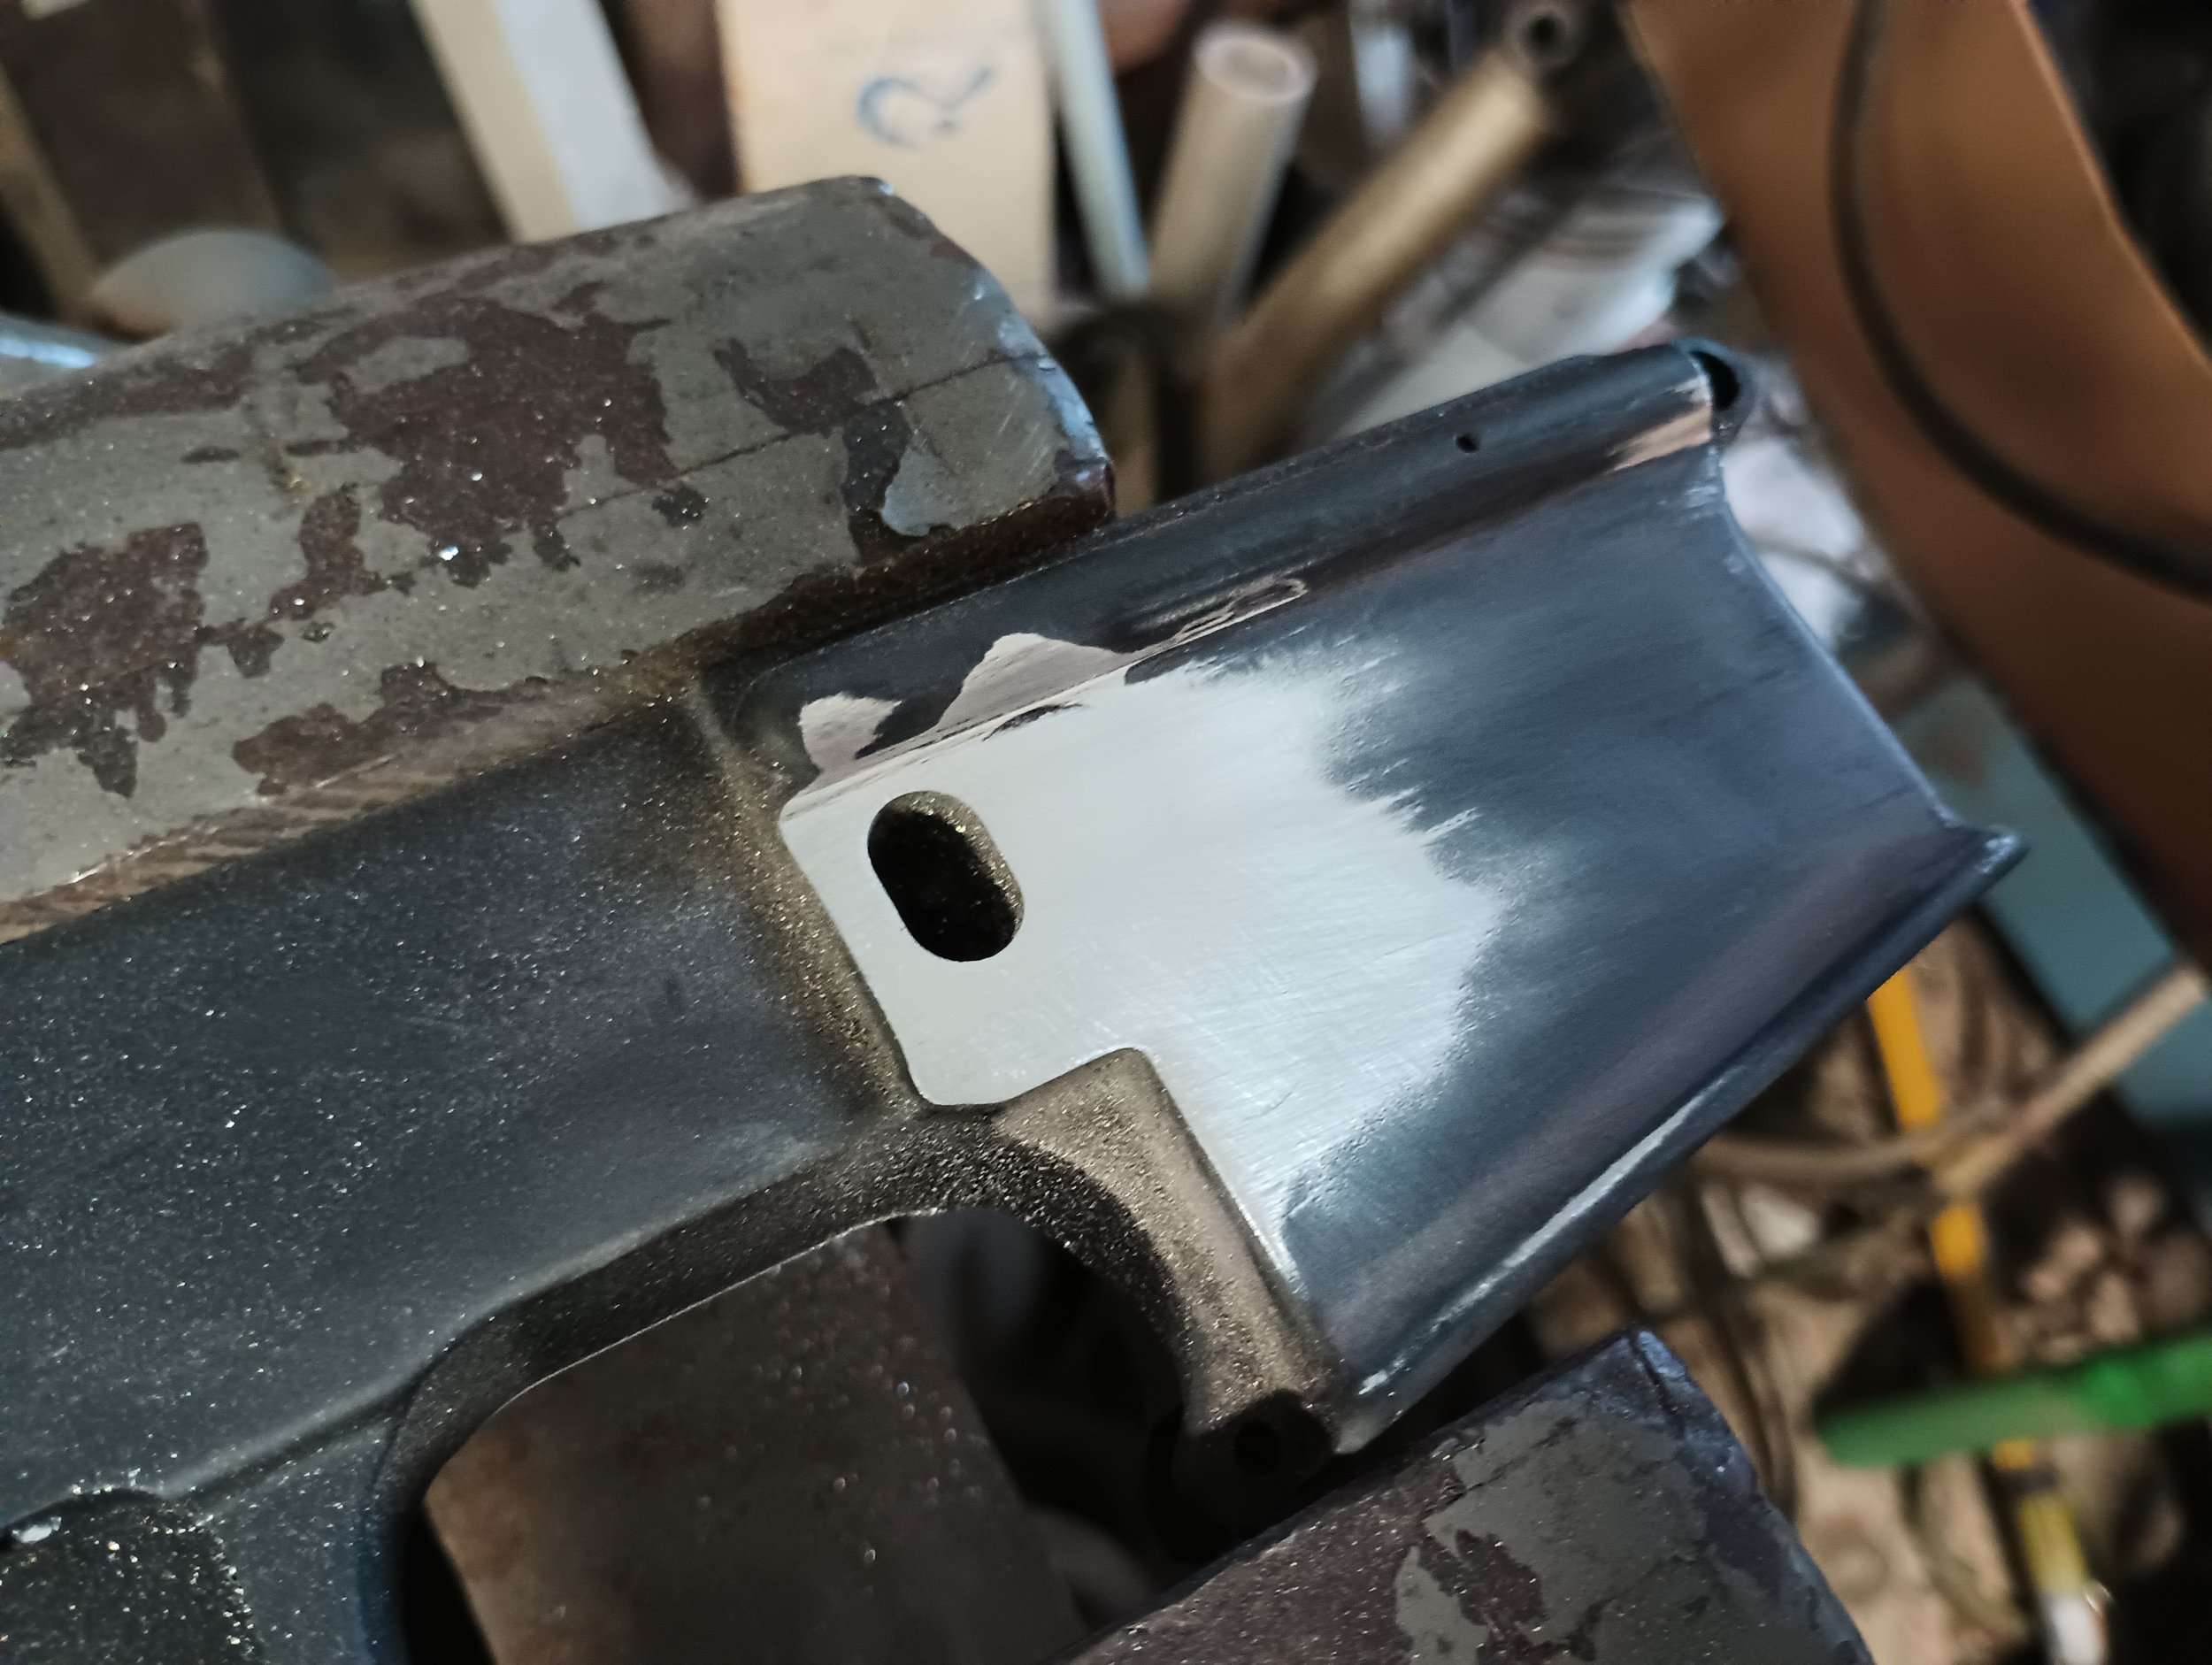
So, I mounted the lower to the my mill vise. While this might not be the best method to hold the lower it worked fine for this step, now keep in mind the entire fire control pocket is still solid. I could have used brass soft jaws to prevent scratching but I plan to repaint the entire gun in either Colt grey or flat black. Next, I used a 1/2” roughing end mill and slowly removed material taking off 0.010-0.030 of depth until I had removed the fence around the magazine release. I went a bit too deep at the end and used Emory cloth and a file to hand blend everything. Once it's painted it will pass inspection.


So I did this whole process again, except for now it was a complete defencing. I have a “prototype” upper receiver from Brownells with the trigger style charging handle under the carry handle. I figured for thks build a “slabside” or no fence lower would be more appropriate. So I followed the same procedure as before but removed the entire fence. I will fill in the channel that was left, I didn't realize there was a pocket drilled there for the detent spring.


